
Guide for Support Administrator
1. Login as an Administrator
The homepage of DepEd Monitoring is at mobileapp.deped.gov.ph. To login as an administrator, you will see the "Admin Login" link at the lower right portion of the page. Click it and input your administrator credentials on the login form. Click login and you will be redirected to the Admin Portal Dashboard.
On your initial login, you will be redirected to your account profile. You will be asked to update your temporary password.
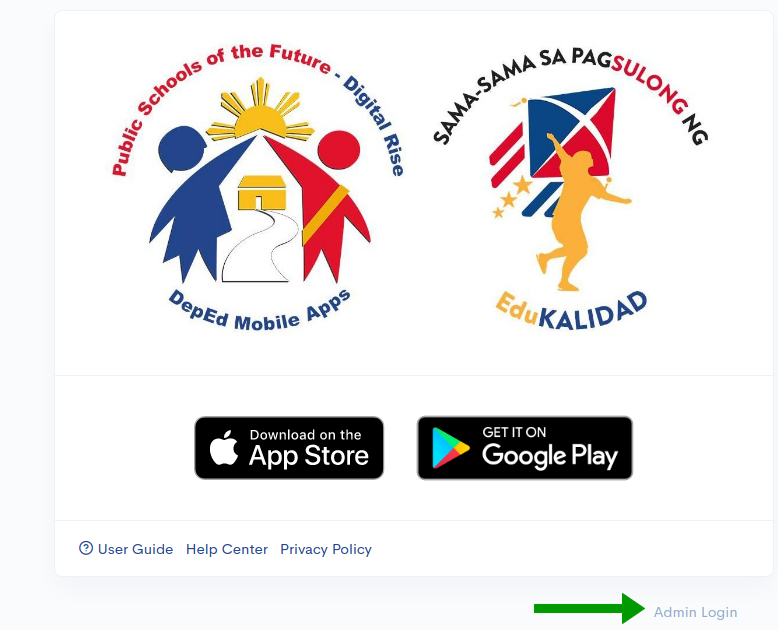

Figure 1. DepEd Monitoring Landing Page (left) and Admin Login Page (right)
2. Admin Portal Interface
The user interface for the Admin Portal is very straightforward and easy-to-use. In this chapter, we will discuss the four (4) main parts of this portal.
- Navigation Bar - In this portion, you will see a list of links that will help you access different parts of the Admin Portal.
- Main Content - In this portion, all of the information are displayed in table form. There will be action buttons (view, edit, or delete) for each row. In most modules, there will be a New button displayed on the upper-right part.
- Account actions - you can view your account by clicking this button
 . To logout, simply click this button
  .
. - Filter - to narrow down the list or data displayed in the Main content, you can use the filter fields in this portion. The available fields will vary depending on which module you are currently in.
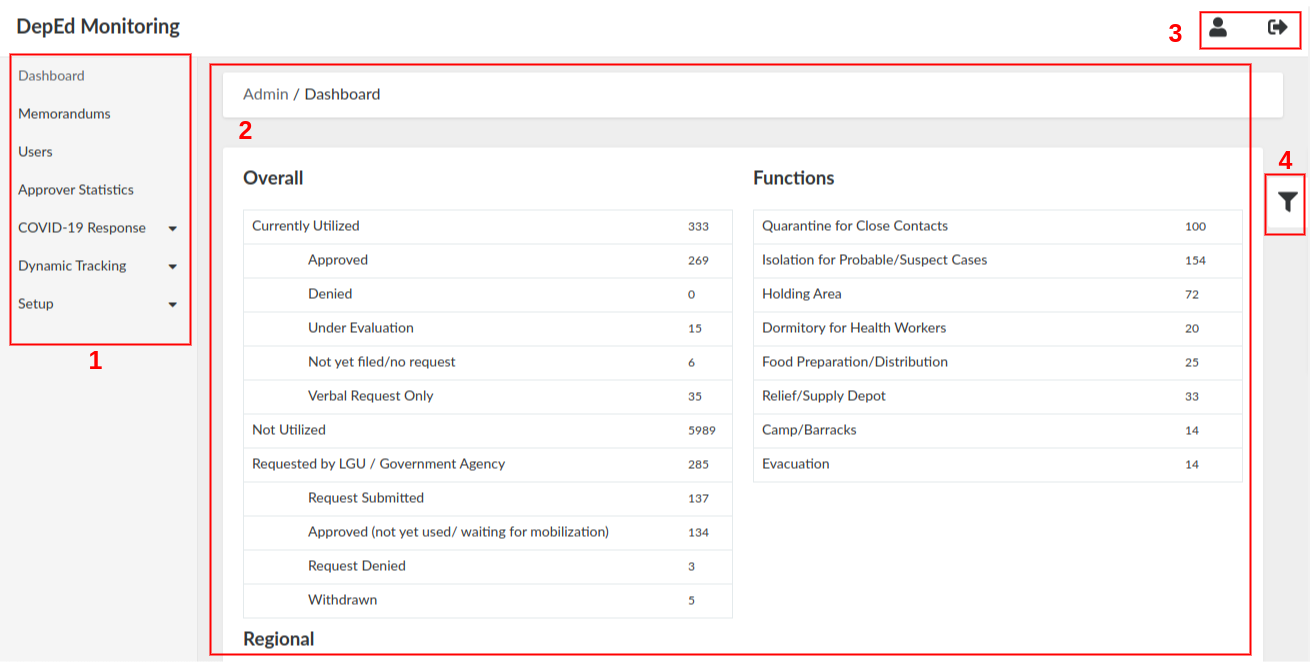
Figure 2. Admin Portal Dashboard
2.1. Dashboard
Dashboard is the homepage of the Admin Portal (see Figure 2). It contains the statistics of the responses gathered from the Facility Tracking survey (COVID-19 Responses).
The figures displayed here will change depending on what type of administrator is currently logged in. For example, as a Support administrator, you can see the data here starting from the national level. You can narrow the data down by using the filters on the right (i.e. display data specific for NCR). Another example is if a Division IT Officer (DITO) is currently logged in, the available data displayed for them is already filtered by their designated division. They could only see the statistics for their division and the schools under it.
3. User Management
There are two kinds of users in DepEd Monitoring: an administrator and a normal user (survey respondents). As a Support administrator, you have the access to view them both. However, you only have edit access on users, and not on admin.
3.1. Administrator
This chapter will focus on managing administrators. As a Support administrator, you can only access the list of administrators, and view a specific one.
3.1.1. Admin Roles
There are six (6) different admin roles available. Each one has its own access and permissions to the Admin Portal.
- Super Admin - has access to all tasks (create, view, edit, and delete), modules, and reports; only role that has the ability to delete a record.
- Central Office - has access to all modules and reports and with tasks to create, view, and edit records.
- RITO (Regional IT Officer) - has access to modules, reports, and users within jurisdiction; can edit records within their designated Region.
- DITO (Division IT Officer) - has access to modules, reports, and users within jurisdiction; can edit records within their designated Division.
- Survey Creator - has access to modules and reports specific to survey management, and with tasks to create, view, and edit records.
- Support - has view and edit capabilities on limited modules.
3.1.2. View Administrator List
To view all the administrators, go to Setup, then select Admin Users.
On the top, you can filter the list by clicking a specific role. For example, in Figure 3, DITO has been clicked, that is why the list only displayed administrators with that role. More filters are available if you click the filter icon on the right. Available filter fields are: Name, Email, Region, and Division.
On the bottom, you can download the list of administrators displayed by clicking CSV.

Figure 3. Administrator List
3.1.3. View a Specific Administrator
Step 1. Go to Setup, then select Admin Users.
Step 2. Search the specific administrator, and click their Administrator ID or the View button on the right.

Figure 4. Administrator ID (green box) and Action Buttons (yellow box)
In the view page, you can see the administrator details and a list of users this specific administrator has approved.
3.2. User/Respondent
This chapter will focus on managing normal users or respondents. As a Support administrator, you can access the list of users, and view or edit a specific one.
3.2.1. View User List
To view all the respondents, simply click Users on the navigation bar.
On the top, you can filter the list by clicking a specific status:
-
- Active - approved users
- Pending Approval - users that have confirmed their account, but are not yet approved
- Rejected - users that have confirmed their account, but are rejected
- Unconfirmed Registrations - users that have not yet confirmed their account
More filters are available if you click the filter icon on the right. Available filter fields are: Email, Email validation status, Name, Mobile, Created at.
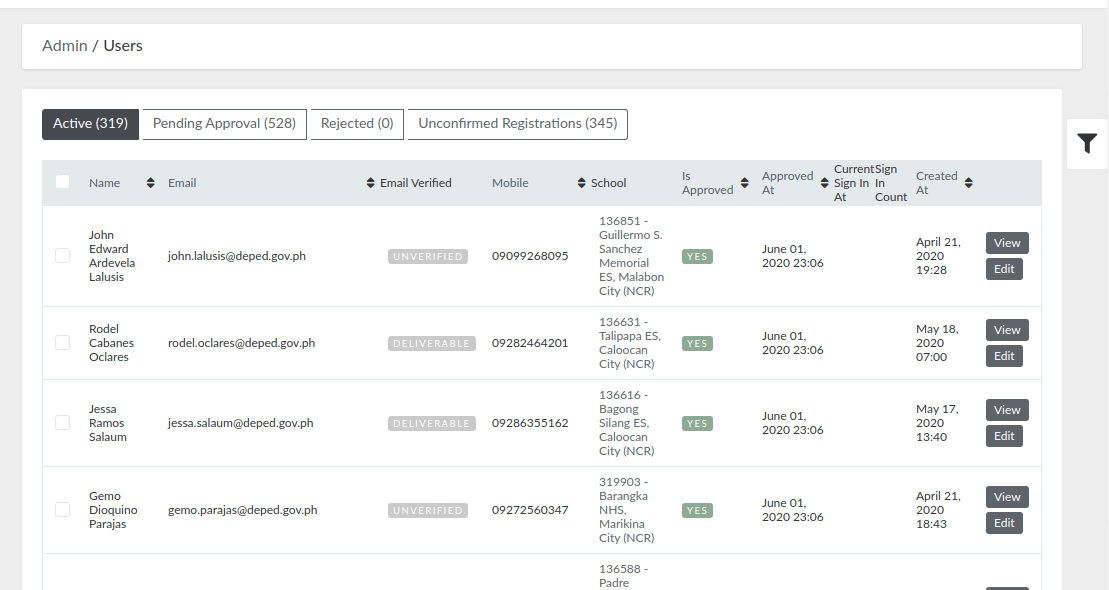
Figure 5. User List
3.2.2. View a Specific User
Step 2. Search the specific user, and click the View button on the right.
In the view page, you can see the following data:
-
- User details - general information of the user
- Special assignments - surveys they are assigned to answer
3.2.3. Approver Statistics
In this module, you can view a list of administrators and their corresponding number of users approved. To access this, simply click Approver Statistics on the navigation bar.
You can generate a CSV report of this by clicking the "Export to CSV" button on the upper-right.
These statistics can only be filtered depending on the date of approval of the users. You can select whether the users are approved within the day, week or month.
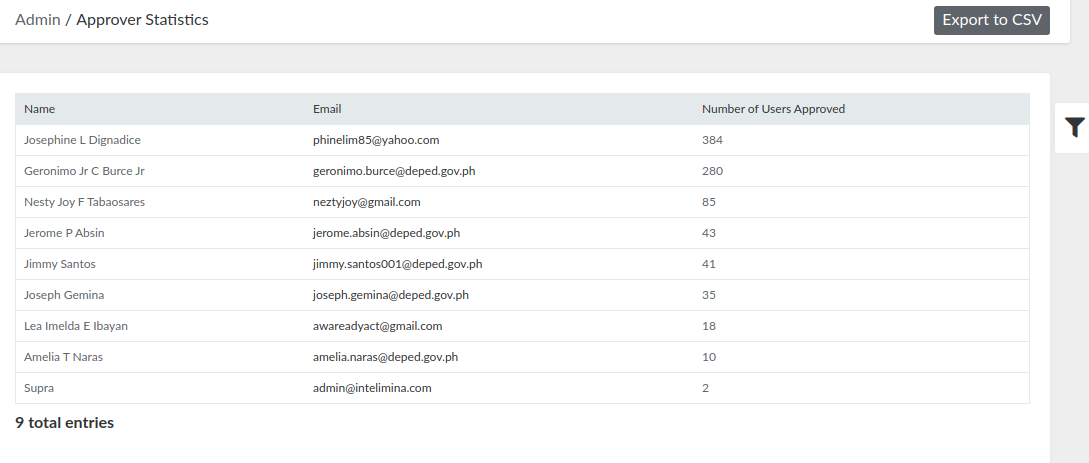
Figure 6. Approver Statistics
To see the list of users that a specific administrator has approved, simply click the administrator's name, and you will be redirected to the administrator's profile. On the profile page, look for the table named "Users Approved".
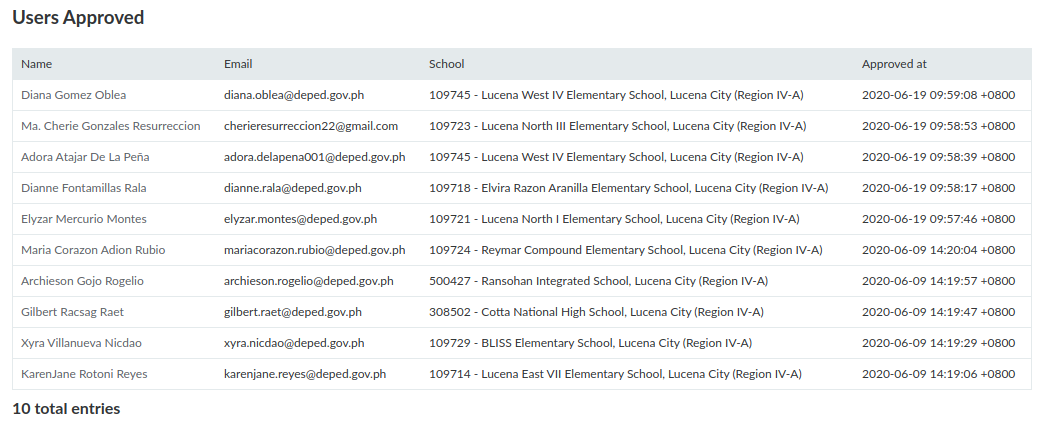
Figure 7. Users Approved Table
3.2.4. Edit a User
Step 2. Search the specific user, and click the Edit button on the right.
Step 3. Update the user details.
Step 4. Click the "Update User" button.
4. Facility Tracking (COVID-19 Response)
The Facility Tracking module is a list of responses submitted by the approved DepEd users who have answered the COVID-19 Facility Tracker survey, which is specifically about the use of school facilities during this pandemic.
To access this module, click COVID-19 Response on the navigation bar, then select Facility Tracking. The responses can be categorized in three (3) statuses:
- In Utilization - schools that are currently used during this COVID-19 situation
- LGU Requested - schools which have been requested for use
- Not Used - schools which are not in use
On the top, you can filter the list by clicking a specific status. For example, in Figure 8, "In Utilization" has been clicked, that is why the list only displayed responses with that status.
On the bottom, you can download the list of responses displayed by clicking CSV.
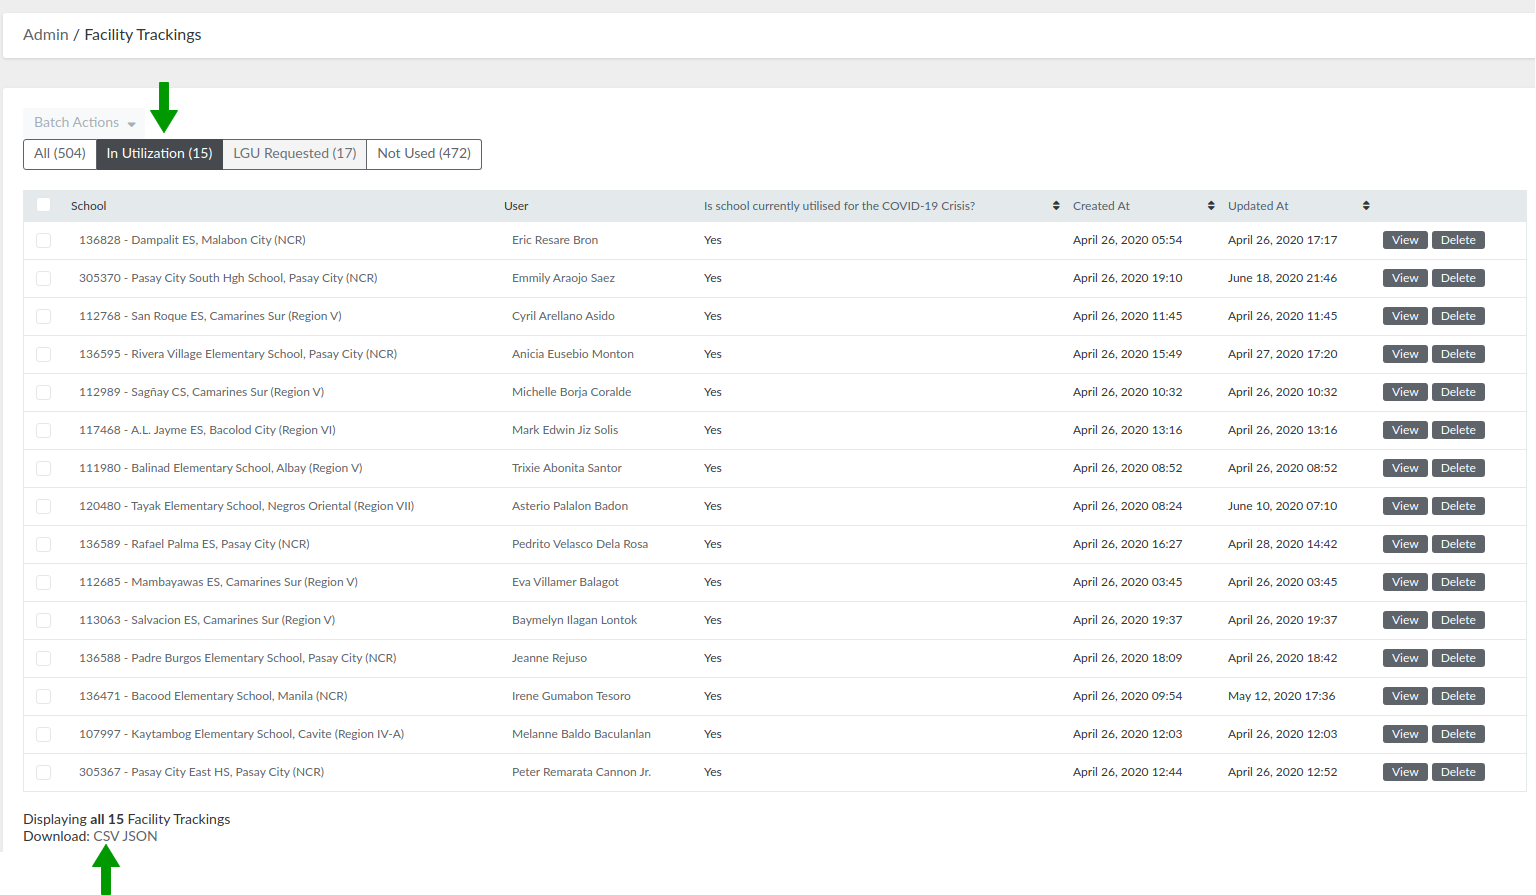
Figure 8. Facility Tracking
5. Memorandums
Administrators can setup memos and official announcements published on the DepEd Mobile Application that can be viewed by the approved DepEd users. To view these, click Memorandums on the navigation bar.

Figure 9. Sample Memorandum on DepEd Mobile Application
No Comments